
These buns are like a typical Mennonite style bun but they use fresh milled hard white wheat. These go great as a side to almost anything, but they also make a delicious breakfast and snack. You can eat these guilt free knowing they hold all the wonderful nutrients of fresh milled whole grains. They have a good amount of protein and fiber, with a lower carb index then regular bread.
All the rage about fresh milled flour
If you haven’t heard fresh milled flour is all the rage, and its for good reason! When milling fresh flour it retains its amazing nutrient profile. This includes 40 of the 44 essential nutrients that our bodies need to survive, including 9 essential amino acids. Making it an almost perfect protein. It can be hard to wrap your head around how wonderful fresh milled flour can be, given the bad reputation gluten has gotten over the years. This reputation does not come from fresh milled whole grain, but rather is the work of nutrient deficient, “dead flour” found on groceries store shelves.
Flour begins to lose nutrition as soon as its milled, three days in it has lost around 90% of its nutrients. Along with this fact another problem with store bought flour is that most have the bran and wheat germ removed. This contains a large portion of the nutrition, and also adds a ton of flavor!
Some people are intimidated to try milling their own flour, and for good reason. There are a lot of websites, and YouTube videos that tend to overcomplicate things. I created this recipe for people who are new to fresh milled flour, and also for those who need a quick easy bread recipe that never fails!
A few tips and tricks
If you have made bread in the past you will know that it is not an exact science, the amount of flour you need can vary depending on things like room temperature and humidity. When it comes to a yeast dough you go roughly by amount, but mostly by look and feel. This dough is no different, the flour amount is just an estimate and you might find you need a little more or less depending on the day. I have narrowed it down as close as i could without adding to much and making a dry dough.
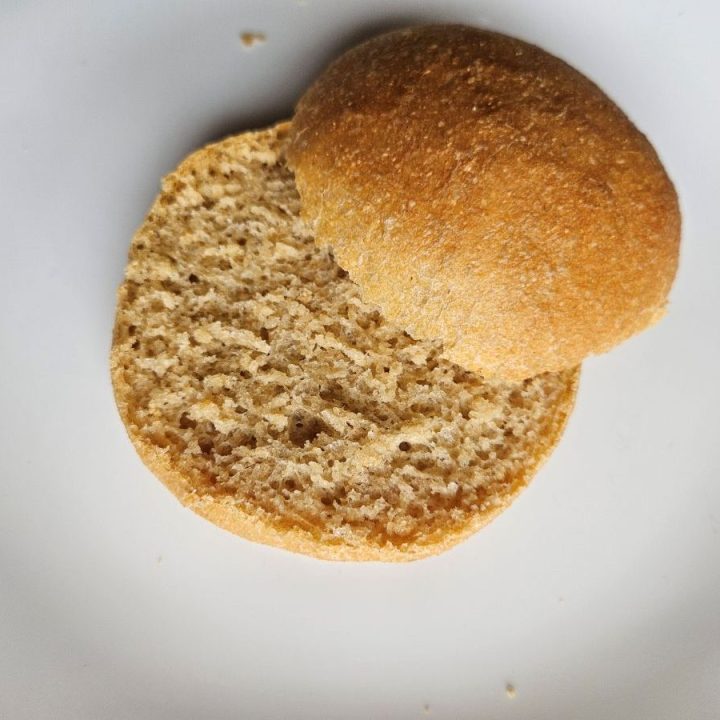
The Vital Wheat Gluten is optional, but highly recommended! Before starting to add it I was getting a denser, smaller bun. Since beginning to add it, I have a fluffier, softer bun with many more more air bubbles. This also increases the protein content which is a nice added bonus.
Make sure to autolyze for no less then thirty minutes, but ideally an hour. Fresh milled flour needs time to absorb all the liquids and soften the bran. It can continue to absorb for well after an hour you want a well hydrated dough. You can continue to autolyze for up to three hours, anything more then that can break down the gluten structures causing a sticky dough that wont rise well.
Most people will recommend autolyzing with just water and flour, In this recipe however I reccommend adding everything except the yeast right away. As a busy mom its very helpful for me to be able to add everything so that nothing is forgotten later. I always place my yeast next to my dough as it autolyzes so that I don’t forget it either. I have not had any issues with my buns not turning out using this method.
Fresh Milled Flour Buns (Mennonite Style)
These buns are exactly what you would expect on a Mennonite dinner table, but with the added nutrition of fresh milled flour.
Ingredients
- 4 1/2 cups Warm water
- 1 cup Avocado Oil
- 1 tbsp vinegar
- 1/4 tsp baking soda
- 2 tsp salt
- 3 tbsp honey
- 2 tbsp Instant yeast
- 5 tbsp Vital Wheat Gluten
- 10-12 cups fresh milled hard white wheat
Instructions
- First mill the wheat on the finest setting of your grinder. Set aside.
- Add all the ingredients except yeast and flour to a stand mixer. Add in 9 cups of flour and mix at kneading speed (for my Kitchen Aid that's a 2) until its all mixed and no dry flour remains. Cover and let autolyze for 30minutes to an hr.
- Once the autolyze has finished add in the yeast and knead for 3-5 minutes until its all mixed in.
- At this point check your dough to see if it will need more flour. Slowly add about 1/4 cup of flour at a time until it begins to form a ball. *See Notes*
- Once it forms a ball and bounces back when pressed stop the mixer. Lightly flour a clean flat surface and dump the dough out.
- Gently knead by hand pushing and pulling the dough away from yourself. Lightly flouring as needed. Do this for a few minutes until the dough is fairly smooth and holds tension well. Keep in mind that dough from freshly milled flour will not get as smooth as a typical dough would.
- Lightly oil a large bowl and the dough. Place the dough in the bowl, cover with a towel and place somewhere warm. Allow the dough to double in size. This takes about 1hr depending on the room temperature.
- Once doubled prepare your baking sheets by lining them with parchment paper, or lightly grease them. Using a knife cut the dough into your preferred size, keeping in mind that they will double. I like to do small to medium size buns.
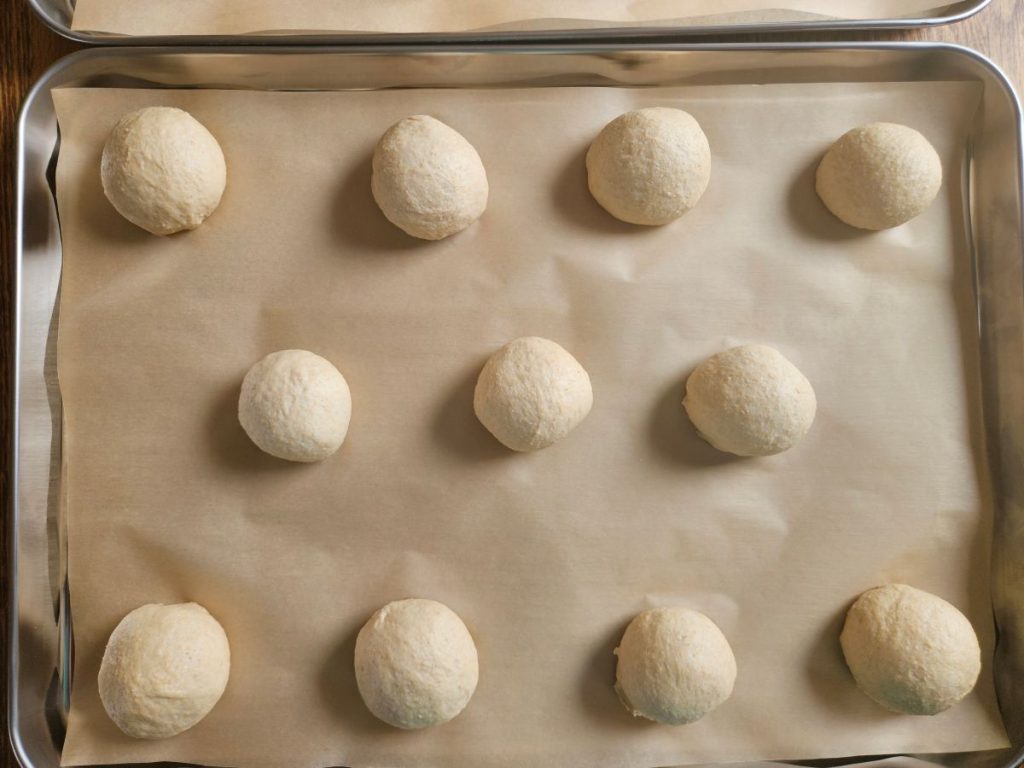
- Take the dough pieces and form a ball by taking the ends and pinching them together, then roll them quickly on the table using a loose grip until they have good tension, and form a nice smooth ball. Place in prepared tray.
- Once all the buns have been shaped cover the trays with plastic *see notes* allow them to double in size this usually takes about 40minutes.
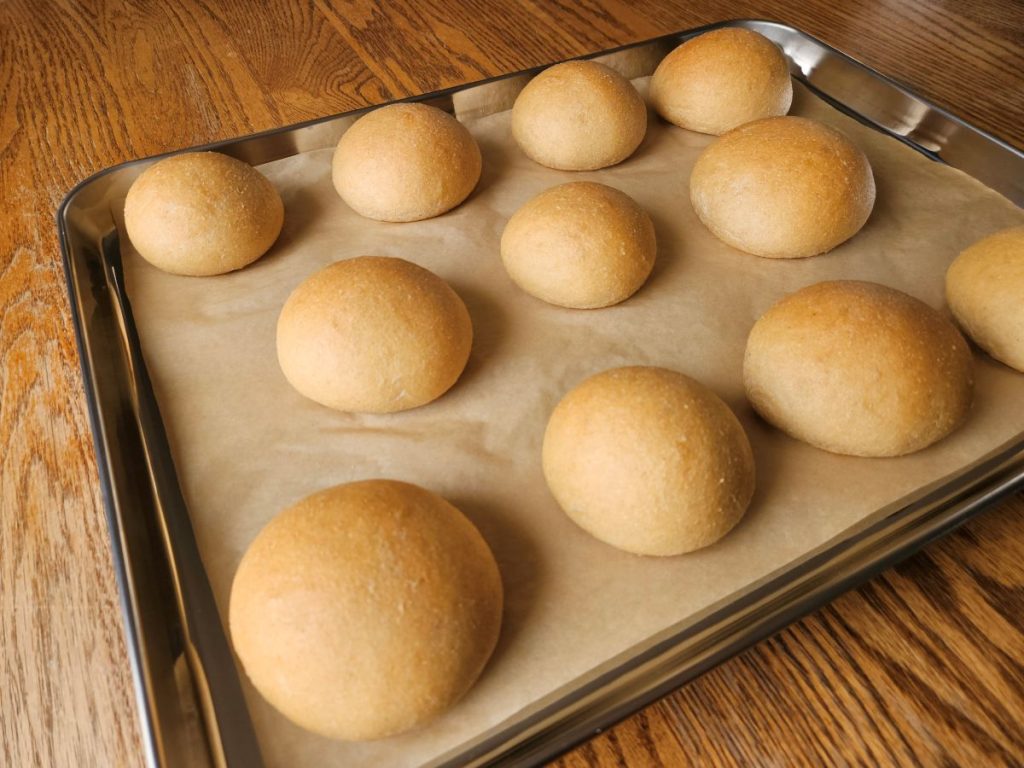
- Before the buns have fully doubled preheat your oven to 350F. Once ready bake at for 20minutes or until light brown and golden. They will continue to darken for a bit after removing from the oven. The internal temperature should reach 190-210F.
- Once removed from oven allow to cool slightly before removing from pan to cool completely so the bottoms don't burn. Once cooled store in an airtight container. These will stay good at room temperature for 3-5 days, in the fridge for 1-2 weeks, or freeze for 4-6 months.
- Enjoy with jam, honey, as a side to beans, or toast with butter to go with chilis and stews!
Notes
When adding flour to the dough after the autolyze you may need to let it rest to continue absorbing the liquid. This will depend on how much flour needed to be added, let rest for 10-15 minutes and continue the steps.
If you want a quick easy way to cover a large amount of buns just cut open a garbage bag. Are they food grade? No. Do they work? Yes. This is a typical Mennonite way to cover yeast doughs. Alternatively you can just use plastic wrap and cover each tray separately.
Leave a Reply